INTRODUCTION
The origins of Pavlova are shrouded in mystery and hotly contested; no one can definitively claim whether this delightful dessert hails from New Zealand or Australia. As a Kiwi growing up in New Zealand, Pavlova was a ubiquitous treat, especially during Christmas and summer, when supermarket shelves overflowed. Much like pumpkin or pecan pie during Thanksgiving in the United States, Pavlova is more than just a dessert—it’s a cherished tradition. It is considered New Zealand’s national dessert. Despite its popularity in New Zealand and Australia, the true beginnings of this confection are still debated. It is believed to be named after the Russian ballerina Anna Pavlova. While the modern Pavlova we know today has been perfected over the years, some recipes trace back to the 1920s in New Zealand.
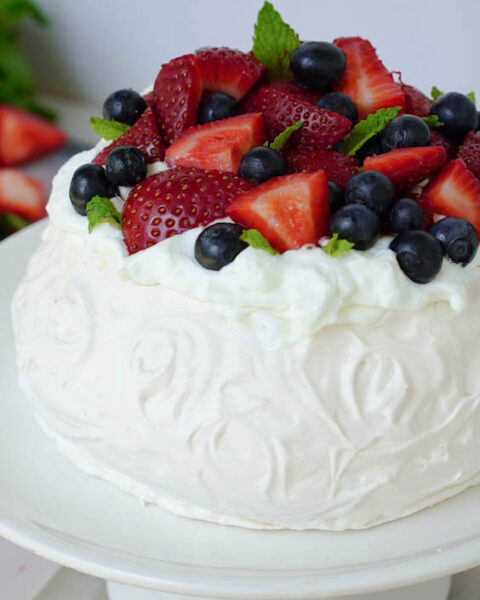
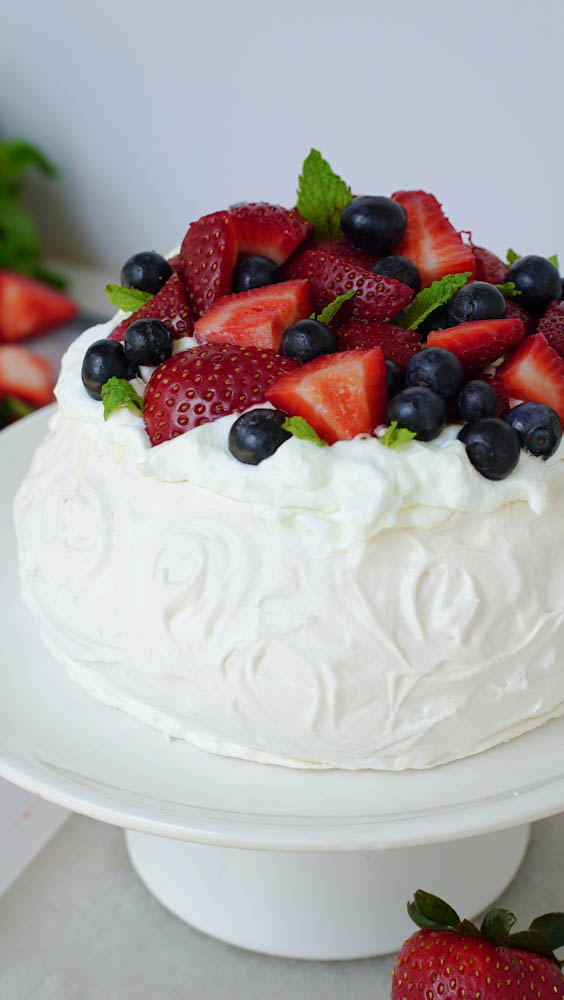
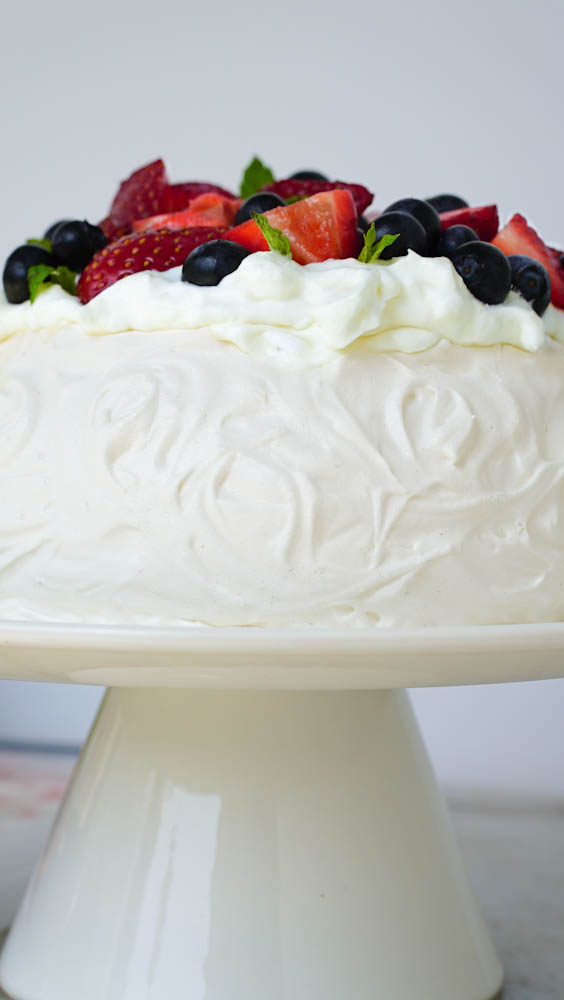
At its core, Pavlova is a celebration of simplicity. It is created from a handful of ingredients: a large meringue made with egg whites, castor sugar, and a touch of acidity from white distilled vinegar, lemon juice, or cream of tartar powder. A hint of vanilla extract adds a subtle twist. Traditionally, Pavlova is crowned with a generous dollop of heavy whipping cream and adorned with fresh fruits such as berries, kiwi, and passionfruit, embodying the quintessential New Zealand Pavlova. However, as culinary creativity has blossomed, variations incorporating different fruits, nuts, and even shredded coconut have emerged. Some innovative cooks have even experimented with various types of custards, like banana pudding or banana foster, to adapt the dessert to different seasons and locations, showcasing the dessert’s versatility.
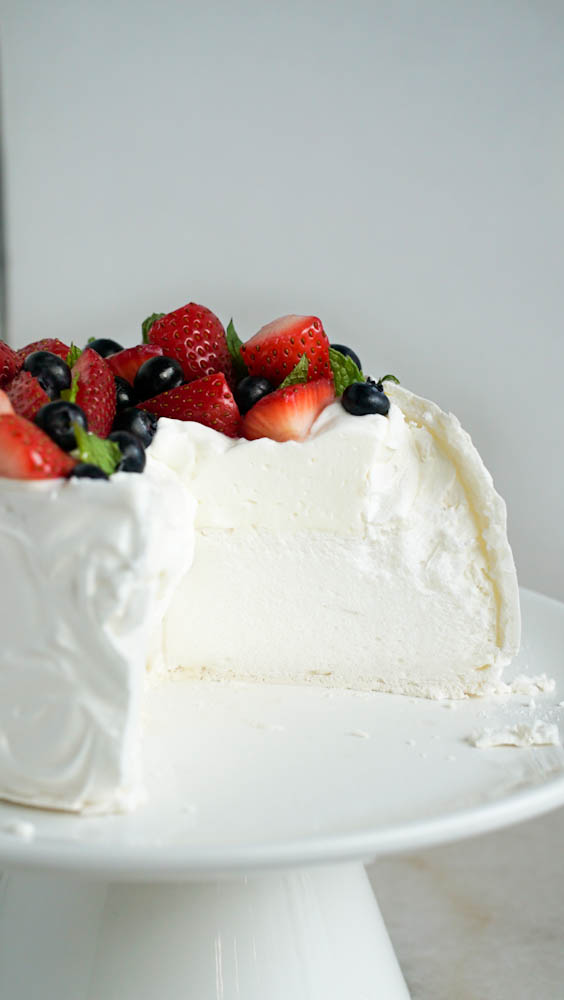
When it comes to making Pavlova, one crucial factor to consider is humidity, which can significantly influence the final result. If you find yourself preparing Pavlova on a humid day or during a humid season, you can adjust the recipe by cooking the egg whites slightly before baking them. This technique helps to stabilize the meringue, preventing it from collapsing or cracking. Regardless of its debated origins, Pavlova is a dessert that is truly worth experiencing. Its perfect hard crust and soft marshmallow-like center, combined with cream and fruit, make it a delightful treat. Just remember, Pavlova is best savored fresh!

PRO TIP/ KITCHEN HACK
TIP – Wipe down your mixing bowl with lemon juice or vinegar before adding your egg whites. Any residue grease will hinder your eggs from fully whipped conspicuity.
EQUIPMENT AND PREP OVEN
▪️Glass/metal/ceramic mixing bowl – Use anything but a plastic bowl. Plastic can hold on to residual grease that will enable the eggs to whip to their total capacity, so I recommend a glass or metal mixing bowl for your meringue to limit potential issues.
▪️Electric mixer – An electric mixer is an essential tool for making your pavlova. Whether you choose a stand or a hand mixer is a matter of personal preference. I find the stand mixer more convenient, as it allows me to multitask while the meringue is mixed. The meringue mixing process typically takes 20 to 25 minutes, and with the right equipment, you’re well on your way to a successful pavlova.
▪️Spatula – Scrape down the sides of the mixing bowl when mixing the meringue, ensuring all egg whites and sugar are thoroughly incorporated. Then, use the spatula to scoop the meringue onto the tray.
▪️Sheet tray – Line a sheet tray with parchment paper. Using a 6-inch cake pan, trace a circle on one side, then flip the sheet over so the pencil is facedown.
▪️Oven Temp – Before you whip your eggs, preheat your oven to 275F. When your pavlova is ready to be baked, you will lower the oven to 200F.
▪️Oven rack placement – Place an oven rack on the second to lower position in your oven. Your pavlova should bake in the bottom 3rd of the oven.
METHOD
1. The first crucial step is to preheat your oven to 275F. This initial high temperature is key to setting the structure and crust of your pavlova, so don’t skip this step.
2. Wipe down the metal or glass bowl with a few drops of vinegar or lemon juice to remove any lingering grease.
3. Now, let’s work with the eggs. It’s important to use eggs at room temperature. Why? They’re easier to whip and yield more volume, resulting in a fluffy pavlova. Start beating on a low-medium speed (4 on a Kitchen Aid) until the eggs are broken up and begin to foam. Once at the soft peak stage, increase the mixer to a medium-high speed (level 6 on a Kitchen Aid).
4. It’s time to add the caster sugar (or refined/ground granular sugar). Do this one tablespoon at a time, every 30-45 seconds. This process should take around a total of 10 minutes. Make sure to scrape down the sides of the bowl until all caster sugar is dissolved. To test the meringue, rub a small amount between your fingers. If you feel any sugar crystals, keep mixing. The meringue should have become stiffer at this point and can hold a medium-stiff peak.
5. Return to low-medium speed (4 on a Kitchen Aid) and add the vinegar, cornstarch, and vanilla until fully incorporated. Continue mixing on level 4 for another 5 minutes. The meringue should have reached stiff peaks. This means you should be able to comfortably turn your mixing bowl and meringue upside down, and it will remain stable in the bowl and not fall out.
6. Scoop or pipe your meringue inside the traced 6-inch circle. Then, pile your pavlova to be around 10-15cm tall. Create a medium-deep, smooth crater on the top of your pavlova; this will be a nest that can hold the cream and fruit you top it with. Any impressions or designs you do on your pavlova will become more subtle as the meringue bakes.
7. Lower the oven temperature to 200F and place your pavlova inside to bake for 1 hour and 10 minutes. After baking, keep the oven door closed and leave the pavlova inside the oven for at least 1 1/2 hours. You can also keep the pavlova inside the oven overnight.
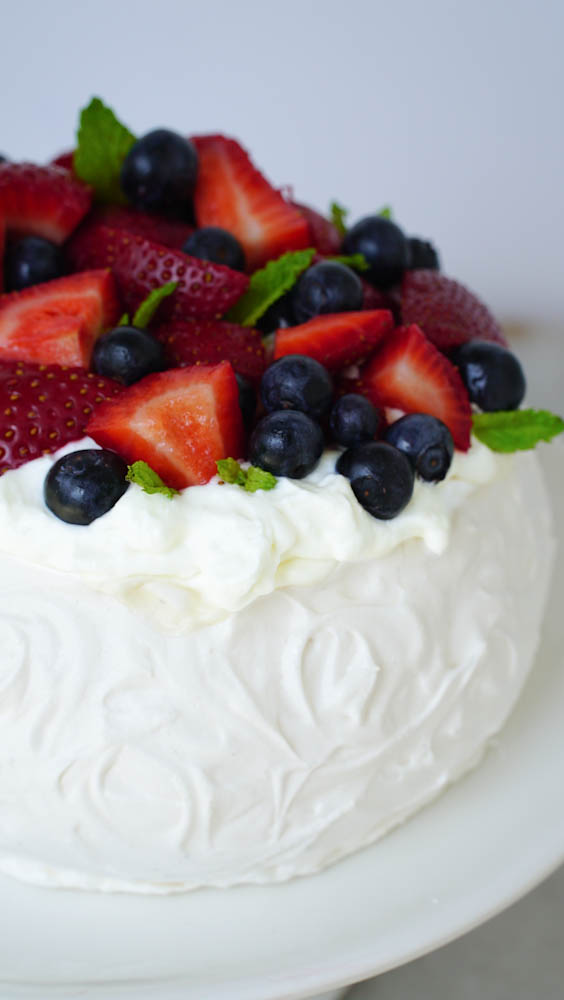
8. Top your pavlova with cream and fresh fruit or various toppings catered to your liking, and enjoy!
PRO TIP/ KITCHEN HACK
TIP—Rub a small amount of meringue between your fingers and feel for any sugar crystals. If you can still feel the sugar, continue to beat until your meringue is silky smooth and you can feel no more sugar.
DECORATING AND SERVING
Curd/custard – if you are looking to switch up your pavlova, try a lemon curd or a banana foster custard.
Cream – Heavy whipping cream is a classic staple topping for your pavlova.
Fresh fruit – strawberries, blueberries, raspberries, blackberries, kiwifruit, mango – you can use almost any type of berry or stonefruit on top of your pavlova.
Sliced nuts/shredded coconut – If you want a little more texture, sprinkle some sliced nuts.
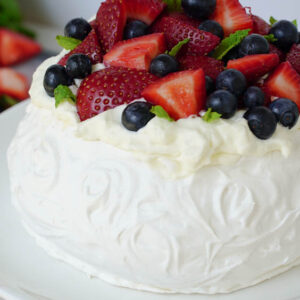
Classic New Zealand Pavlova
Pavlova boasts a crisp meringue shell and a soft, marshmallow-like center, topped with luscious whipped cream and fresh fruits.
Equipment
- digital scale
- electric mixer
- measuring spoons tsp/tbsp
- soft rubber spatula
- sheet pan
- oven thermometer
Ingredients
- 3 egg whites room temp
- 150 g caster sugar
- 1 tsp vinegar
- 2 tsp corn starch
- ½ tsp vanilla extract
Instructions
- Preheat oven to 275F. Having the pavlova enter the oven at a higher temperature will help the crust to set and create the structure for the pavlova.
- Wipe down the metal/glass bowl with a few drops of vinegar or lemon juice. This will help wipe off any grease that may be lingering on the bowl.
- Separate 3 egg whites. Make sure eggs are room temp as they’re easier to whip and gain more volume. Start whipping on a low-medium speed (4 on a kitchen aid) until your eggs are broken up and begin to foam; once you reach a soft peak stage, you can increase the mixer one level (6 on a kitchen aid)
- Begin adding the caster sugar (or grinded granulated sugar) one tablespoon at a time every 30-45 seconds. This should take a total of 10 minutes, Make sure you scrape down the sides of the bowl until all caster sugar is dissolved. Your peaks should be becoming stiffer by this point.
- Bring back down to a low-medium speed (4 on a kitchen aid) and add the vinegar, cornstarch, and vanilla. Keep mixing on level 4 for another 5 minutes.
- Your meringue should have reached stiff peaks. You should be able to comfortably turn your mixing bowl upside down with your meringue inside it – it should remain stable in the bowl and not fall out.
- Scoop or pipe your meringue inside the traced 6-inch circle. Pile your pavlova to be around 10-15cm tall. Then create a small/medium smooth crater on the top of your pavlova, this will be a nest that can hold the cream and fruit you top your pavlova with.
- Bring the oven temperature down to 200F and place your Pavola inside to bake for 1 hour and 10 minutes.
- Once the pavlova has baked for an hour and 10 minutes, keep the oven door closed and leave the pavlova inside the oven for 1 1/2 hours minimum. You can also keep the pavlova inside the oven overnight.
Tried this recipe? Tag us @Gooddaytobake on instagramLet us know how it was!